
Appearance
How to create a new test site
Step 1: Create a DNS record
- Go to CloudFlare for
ixdf.dev’s DNS Records - Create
ADNS record ("Add record") for the new subdomain (similar to thefeature.ixdf.dev):- Name: e.g.
stagingfor thefeature.ixdf.dev - IPv4 address: load balancer's public (reserved) IP address
- Proxy status: DNS only
- Name: e.g.
Step 2: Create a site on the staging server
Fill out and submit the "New Site" form:
- Custom Domain: Enter full name domain
- Web directory (from advanced settings):
/current/public - Other inputs: Leave defaults

Create a site on the load balancer server
Add site on load balancer
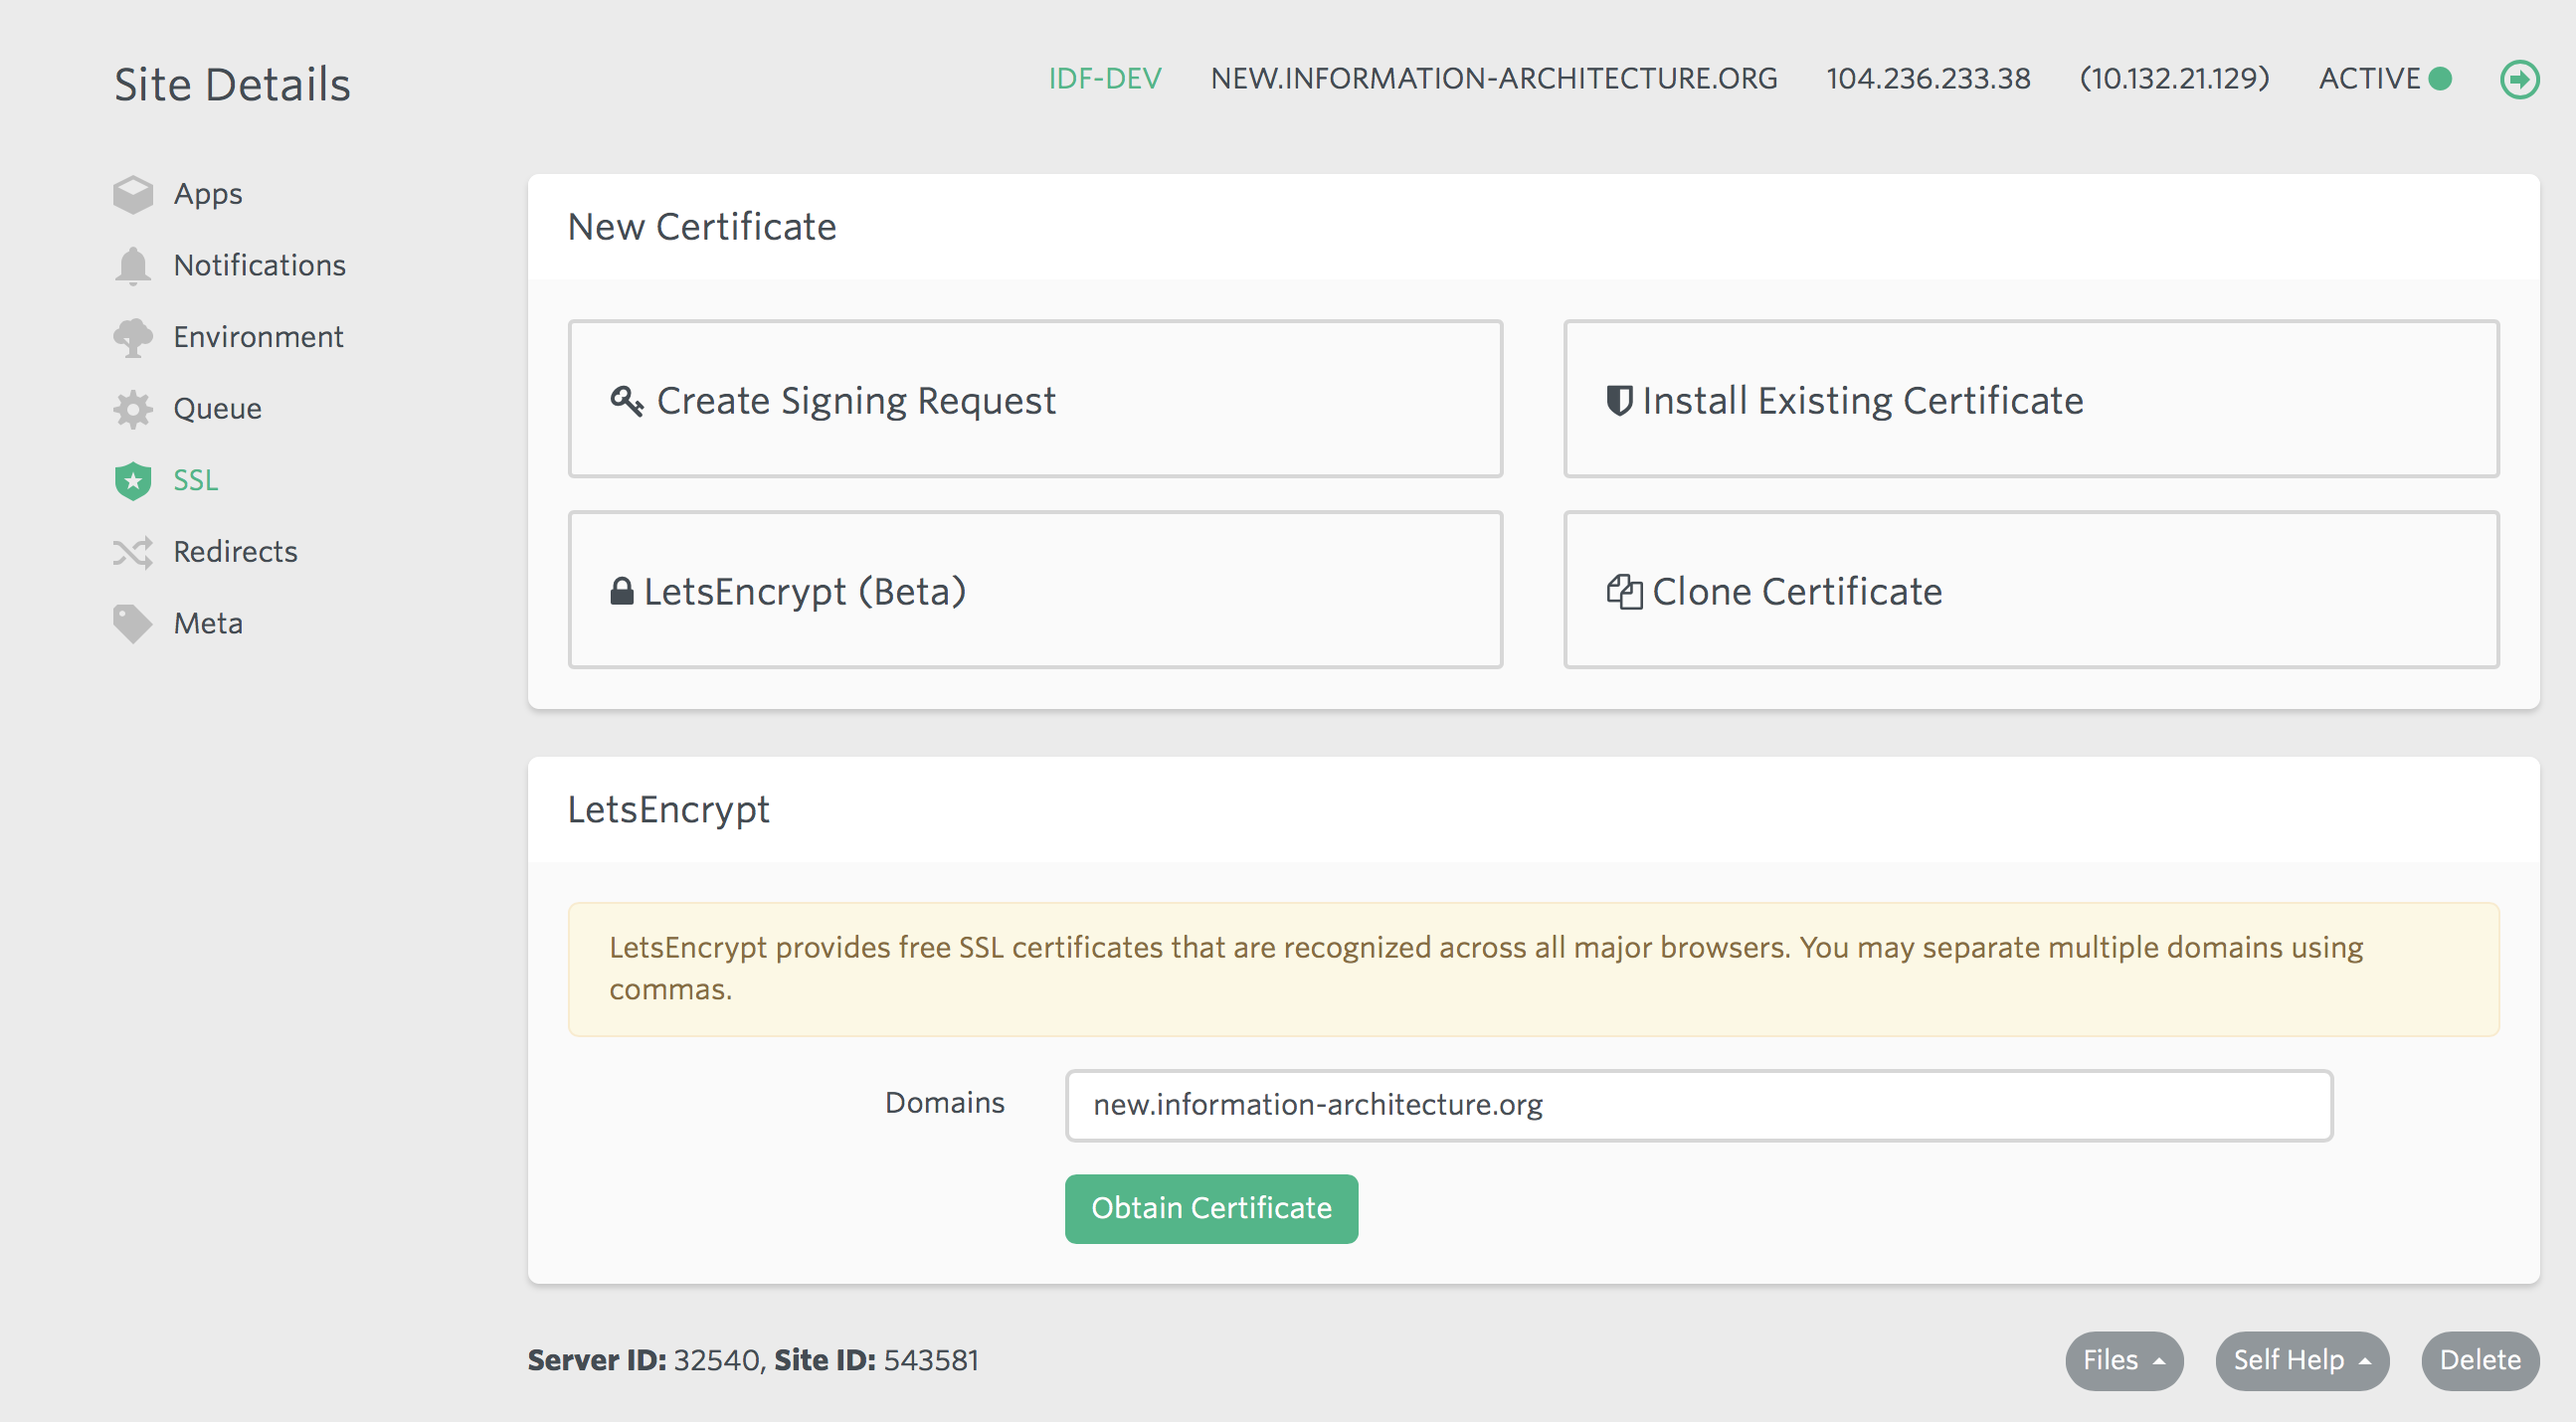
Obtain an SSL certificate
- Click on "SSL" under "Site Details" on the new site’s Laravel Forge page. Choose "LetsEncrypt" and then "Obtain Certificate":
WIP
On example of staging env for the staging.ixdf.dev domain:
md
1. Add a new server to the `deploy.php` file (similar to the `staging.ixdf.dev`, but customize `env_name`)
1. Update nginx configuration
1. Create and push `.env.{env_name}.encrypted` file (use unencrypted `.env.staging.encrypted` as an example)
   1. make sure REDIS_DB and REDIS_CACHE_DB have unique values (requires checking other env files)
   1. get encrypt key from the staging server: `./deployer.phar env:encrypt-key:show staging`
   1. use it to encrypt `env.feature`: `php artisan env:encrypt --force --env feature --key {{key}}`
   1. commit and push an encrypted file to the GitHub (required on the `deploy` step)
1. Deploy:
1. Remove `~/feature.ixdf.org/current` directory (it's created by Forge, but Deployer wants to create it itself): `rm -rf ~/feature.ixdf.dev/current`- Run
./deployer.phar deploy {env_name}to deploy the new site - Check app works by the new address
- Create Slack channels:
errors--{env_name}cron--{env_name}
- Add
php ~/feature.ixdf.dev/current/artisan schedule:run -vvvto cron (every minute) - Setup supervisor for Horizon
- Create a supervisor config for Horizon for the new server and put it to the
infrastructure/supervisor/{env_name}/conf.d/directory:- copy horizon--staging.conf
- find and replace
stagingwith the new server name (aka{env_name})
- Run
./deployer.phar site:setup:supervisor-for-horizon {env_name}task
- Create a supervisor config for Horizon for the new server and put it to the
Update environment file
- Go to
feature.ixdf.dev’s environment configuration on Laravel Forge - Copy the environment variables and paste it into new site’s environment file.
- Remember to change these variables based on your domain name:
APP_ENVAPP_URLDB_DATABASE
Deploy
- Add a new host to
deploy.php. Run deployment bydep deploy {newhost}. If deployment fails dur to inspections, please fix them or (if it's not possible) comment outartisan:server:audittask from deploy the task pipeline.
Update environment file for deployed site
- Go to https://feature.ixdf.dev's environment configuration on Laravel Forge: https://forge.laravel.com/servers/32540/sites/66422#/environment
- Copy the environment variables and paste it into the new site’s environment file.
- Remember to change these variables based on your domain name:
APP_ENVAPP_URLDB_DATABASE
Update nginx configuration
- Scroll down to the bottom and click on "Files > Edit nginx Configuration". Open
infrastructure/nginx/site-template.nginx.jinja2file, replaces vars from this file by values and paste content to Forge editor. Save changes.
Update config cache and restart services
- After any change in the.env file, you need to run these deployer tasks:
config-changedservices:restart
Optional: Update CI/CD to enable auto-deploy
- Copy "Deploy Script" from develop site and paste it to new site’s "Deploy Script". Remember to update
GIT_BRANCHother variables from the very top section. Click on "Save Script".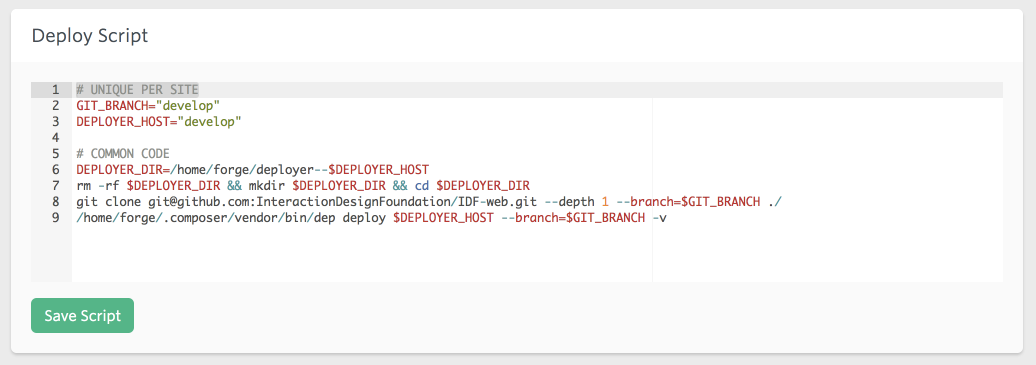
- Add a new host to
deploy.phpand run a deployment for the new site.
Setup DB
Run composer db:update to use develop dump.
Download GeoDB
php artisan geo:database:update